Temperature Matters
By Richard Hawkins, MACS Contributor
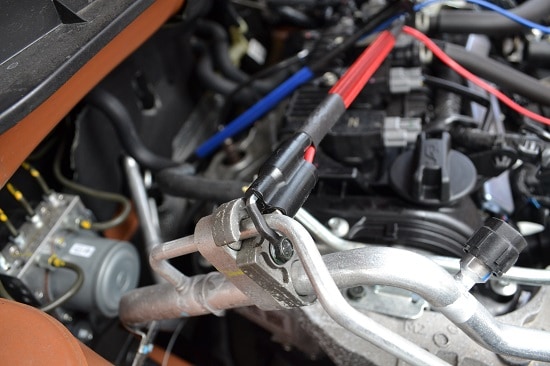
In addition to having good contact with connectors and getting accurate readings, there are some other important things to remember when doing temperature testing.
Ambient Temperature
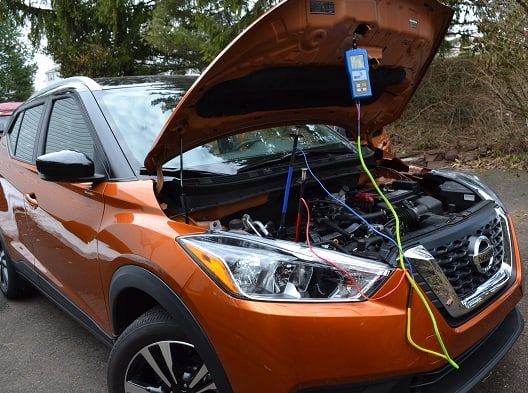
The system needs an adequate heat load. This is because a low heat load can mask system problems that don’t show up until the system is forced to work harder. It is generally regarded in the industry that at least a 70° ambient temperature is necessary to do any sort of meaningful A/C system diagnostics. If the weather forecast indicates a higher ambient temperature later in a day where a system will be tested, it is best to wait for the higher temperature.
Prior to doing any temperature testing, the system needs to be run long enough for it to stabilize.
If the system being tested is a cycling system, steps need to be taken to prevent cycling from taking place. This is because usually when doing temperature testing, you are trying to determine the difference in the inlet and outlet of a component and that cannot be accomplished if the temperatures are constantly changing due to cycling.
The easiest way to accomplish this is by increasing the heat load. The first step would be to increase the fan speed (if it is set in a lower range) as a faster fan speed blows more air across the evaporator. This results in a slightly higher evaporator temperature and slightly higher low side pressure.
On a temperature-controlled system, this may raise the temperature just above the threshold where the system cycles off. On a pressure-controlled system, the pressure may rise to just above the threshold where the system cycles off. Moving the temperature lever (or knob) to adjust the temperature upward can also accomplish the same thing if a faster fan speed doesn’t.
Other ways to place more heat load on a system would be to open the doors and/or place the system in the outside air mode. Opening the doors prevents the temperature inside the vehicle from being reduced very much and running the system on outside air pulls warm outside air in and blows it across the evaporator.
Proceed with caution
I have had some tech calls with technicians who were temperature testing and experiencing cycling issues and the above procedures did not stop the cycling. Some chose to disconnect cycling switches and use a jumper wire to stop the cycling. This will work but needs to be approached with CAUTION if done.
In the case of orifice tube systems, the cycling switches (which are often located on the accumulator) are usually calibrated to cycle the systems off at about 20 PSI to 24 PSI. With the switch replaced by a jumper wire, the system pressure might drop way below where it is designed to run. This is not going to cause an issue if the system is only run for a short amount of time. However, if someone were to forget to remove the jumper wire, there is nothing to prevent the low side from getting so cold that oil flow to the compressor could be slowed enough to cause compressor damage.
DO NOT disconnect a high pressure cut out switch and use a jumper wire in its place! This disables the high-pressure protection and if the pressure goes above the cut off threshold, the high pressure relief valve could release or worse, a component could explode.
Have you become a member of MACS yet? We’re waiting for you. Join us at this link.
Leave a Reply